
 – klik hier voor Nederlands –
You’ve probably all heard of it: Pilea peperomioides. Also known as ‘Chinese Money Plant’, ‘Missionary Plant’ or just ‘Pilea’. I’ll stick with ‘Pilea’ as well, even though this is actually the collective term for the plant genus, there are lots of different kinds of Pilea out there. Some of them may even be more special, but Pilea peperomioides is the one that’s gotten world famous. If you’ve got lots of plants at home, Pilea is probably one of them. And most real plant lovers have big Pilea families by now 😉 Most plant-related questions I find in my inbox on Instagram are still about this plant. So you can understand that my first blog post in my houseplant category, the one you’re reading right now, is on this plant pal: Pilea!

Part of my Pilea family
? HIP HOUSEPLANT ?
It took Pilea round about 3/4 years for it to go from ‘rare and hard to get’ to an all-time best seller found in many living rooms. Together with Monstera deliciosa it’s in all lists with cool and hip houseplants. By now, there are many blog posts on Pilea out there. I do rarely find them complete and hopefully you guys agree (you keep sending me questions, so I guess you do…!). So… here’s another Pilea story, but from me this time 😉 Starting???? with where it all began, I love this story!
? CHINESE PUZZLE ?
I mentioned the nick name ‘ Chinese Money Plant’ before. Pilea is originally from China an?d it grows high up in the mountains of the Yunnan province (I keep imagining huge forests of Pilea dancing in the wind. If this picture in my head in any way resembles the truth please let me know, I can’t seem to find pictures of them growing in the wild!). Because of its coin-shaped leaves you can see where that name comes from. His other alias: ‘Missionary Plant’ is lesser known and way more intriguing. In the 1940s a Norwegian missionary took a cutting home from China. Back in Norway this plant did what it does best: produce offshoots. Those cuttings (from cuttings, from cuttings) spread all over Scandinavia en off course also across the borders within months. Via a Norwegian au pair working in England cuttings found their way to the UK. In Kew Gardens in London (OMG go there next time you visit London!), one of the biggest botanical gardens in the world and also a world-renowned scientific centre for botanical knowledge, it wasn’t until the 1980s that Pilea peperomioides was officially described by a botanist. The story of Pilea and how it found its way to Europe was an absolute mystery to botanists for so many years. It wasn’t until Kew botanists asked a Swedish television programme to help them find out what viewers knew about its origins that they found the answer. You can read more on this incredible story here.

Pilea Peperomioides: the perfect plant pal for propagating!
? MY PILEA ADVENTURE ?
Because Pilea is so easy to propagate (and of course thanks to that Norwegian missionary man) the plant spread all over Europe faster than Pokémon Go in 2016 😉 Other parts of the world had to wait a little longer though. When I started posting pictures of my Pilea family on Instagram back in March 2017, yearning plant lovers from mostly the US and Australia cried out to me in desperation that they were looking for this plant friend everywhere without any success… Luckily Pilea has spread all over the world by now. Mainly thanks to European plant lovers out there who in their way played the part of the Norwegian missionary man by sending out cuttings to the ‘deprived in the Pilea field’ 😉
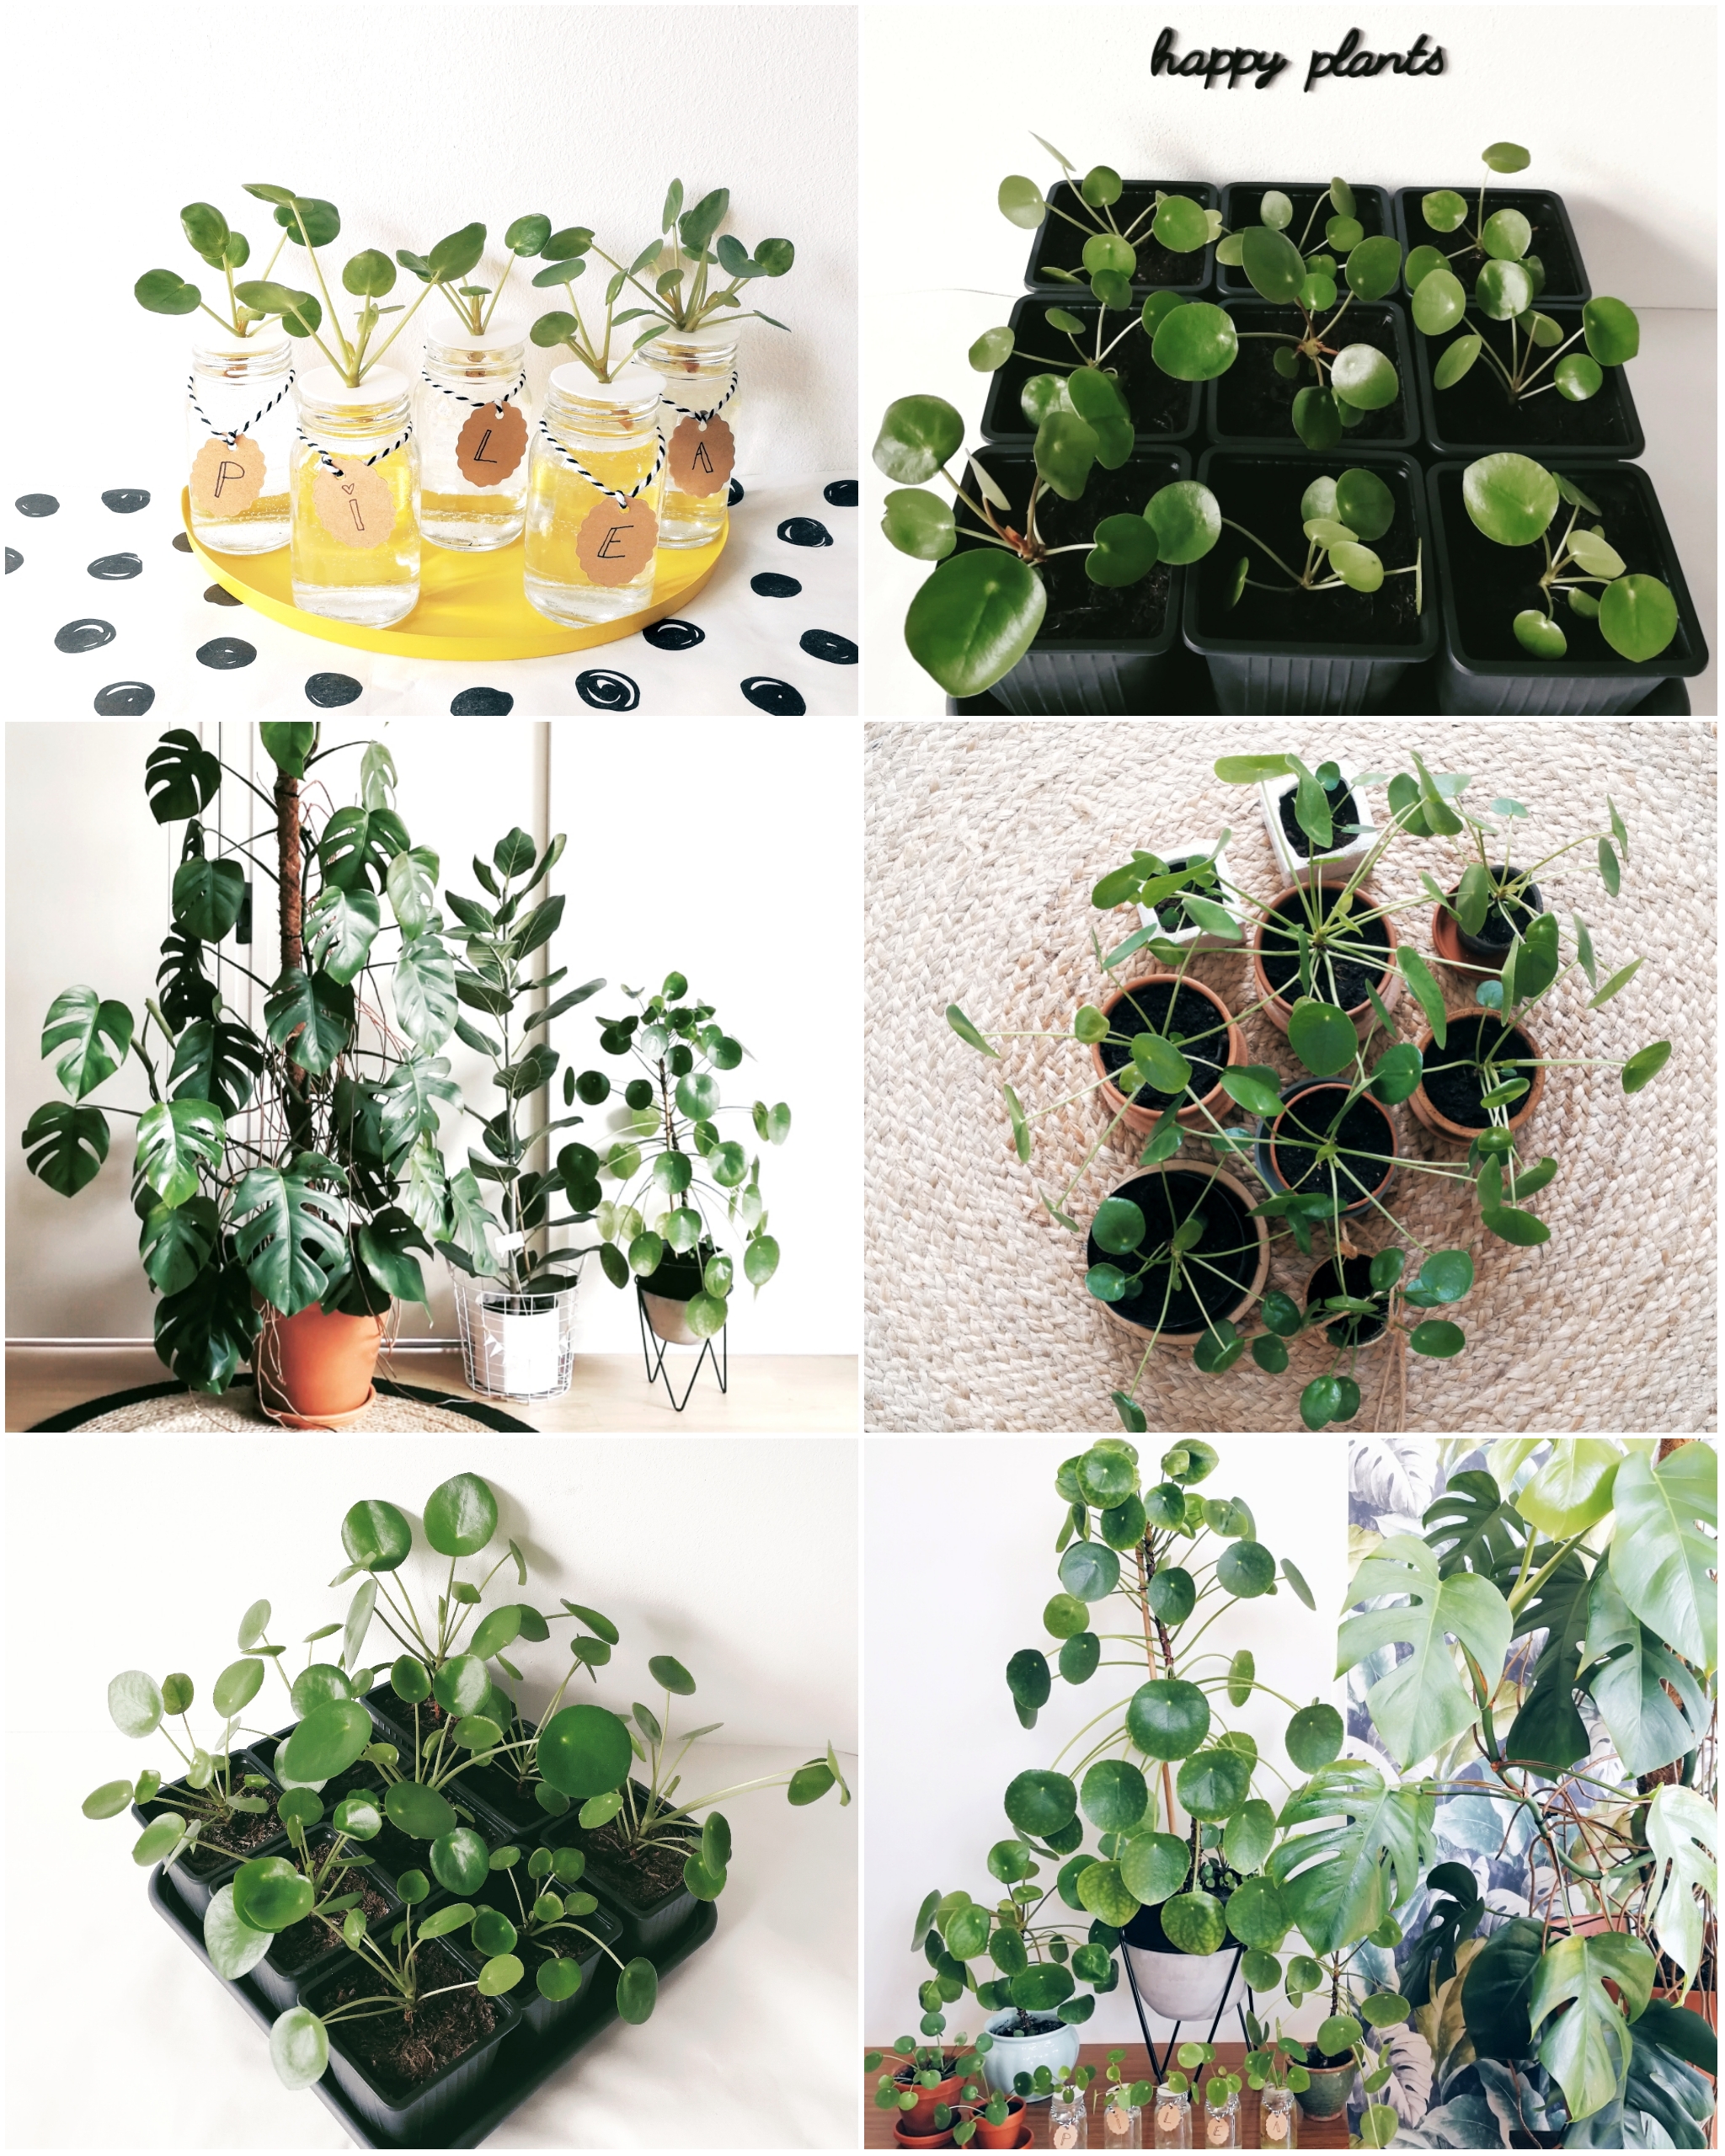
My Pilea adventure does in a way resemble this story as well and if you’ve been a proud Pilea mom for some time now, you probably recognize this ‘sharing story’ too. Although my story is now maybe more an addiction than anything else, really 😉 I once started out with 2 little plants as well. Today, cuttings (of cuttings, of cuttings) from those ‘mothership Pileas’ live in living rooms from my friends and family all over Holland. Not counting all of those cuttings, I now own over 30 Pilea at home. Many people who come over joke that I can definitely open my own Pilea store, haha!
? PLANT CARE ?
Please not that the information on plant care I’m about to give you is based on living in a temperate climate (Europe – The Netherlands). Enough stories told, you’re probably wondering where my top tips are if you’ve made it this far 😉 Here we go:
– LIGHT – The more light it gets, the faster it grows. Do make sure you NEVER leave it outside in the sunshine. Leaves will burn within minutes, leaving brown burn spots. And in the window sill it’s best to not put it in an overly sunny spot. Best Pilea spot is in the window in a partly shaded spot. Great thing about Pileas: they’re not that bothered by shady spots either, they just grow slower there.
– TURNING – Pilea turns towards the sun. Avoid lopsidedness by turning the plant once a week.
– WATER – In summer I water my Pileas once a week, always on the same ‘plant day’, which goes for all my house plants. I water the Pileas in the window twice a week in warm weeks. This also goes for the younger cuttings. In winter I stick to once a week for all of them.
– FERTILISER – In summer I pour a little liquid (organic) plant fertiliser in the water every other week.
– PRUNING – In winter it’s normal for old leaves, which are the ones at the bottom, to brown and fall off. If it takes them a long time to eventually fall off, you can help cut them off.
– FLOWERING – It doesn’t happen that often, but your Pilea can definitely bloom! If you put it in a colder spot during winter where the temperature is about 10°C/50°F (make sure there’s enough light though) come spring you can see little flowers popping up. Well, don’t get your hopes up too much, because the flowers are more like little balls on stalks, but if you manage to do it, it’s quiet unusual and special!
– TEMPERATURE – Room temperature: 20°C-25°C (68°F-77°F). In winter lower is okay too, read the part ‘FLOWERING’. Don’t put it next to central heating.
– REPOTTING – If the plant becomes top-heavy and grows out of its pot, it needs repotting to make sure it stays healthy. Which means about once a year, try to do it in spring or summer when roots grow faster.
– OFFSHOOTS – To make sure the ‘mother plant’ doesn’t put too much energy in her babies it’s best to remove the offshoots. Read on… 😉
? CUTTINGS ?
You don’t just remove offshoots to protect the mother plant of course… You probably want to be a good plant mom and taking care of your own plant baby is definitely part of that! Don’t worry, you don’t have to be an expert for this, if I can do it, you can do it too, just keep reading 😉 Check out the pictures below. Good to know: wait until the offshoot is about 4 cm./1,5 inch tall. By then, it has gathered enough ‘strength’ to survive by his lonesome. You can dig out most offshoots with enough root. Some grow straight from the stem of the mother plant in stead of out the soil (which is also from the stem, but from way below). For those cuttings that lack a decent root and for those cuttings that just don’t have enough roots yet, it’s best to put them in water before you pot them up. That way they grow roots faster.

(TTB, LTR) Photo 1: An offshoot that doesn’t grow from out the soil but from the stem of the mother plant. Photo 2: 2 cuttings with enough root on the left, 1 cutting lacking roots on the right. Photo 3: Cutting in water. Photo 4: Cutting in water with ‘cap’, see text below.
I made the little cap you see in the above picture to prevent the cutting from falling into the water too far (your cutting will rot if the leaves stay wet too long). Some pots or flasks are small enough at the top and some cuttings are big enough for them to not fall in too far (like the one in photo 3), but for the smaller ones you can cut out little circles from material, like foam, that doesn’t get wet. Don’t forget to make a cut from the outside in so you don’t damage the roots when you remove the cap. Do that when the roots look like the ones on photo 3. Top up your pots so the roots stay wet. It depends, but after about 3/4 weeks your little plant friend is ready to be potted up. If your cutting has enough roots already, then you can do the potting up straight away. Try to use planters with a hole in the bottom to prevent over watering. Excess water will then pour out onto the dish.
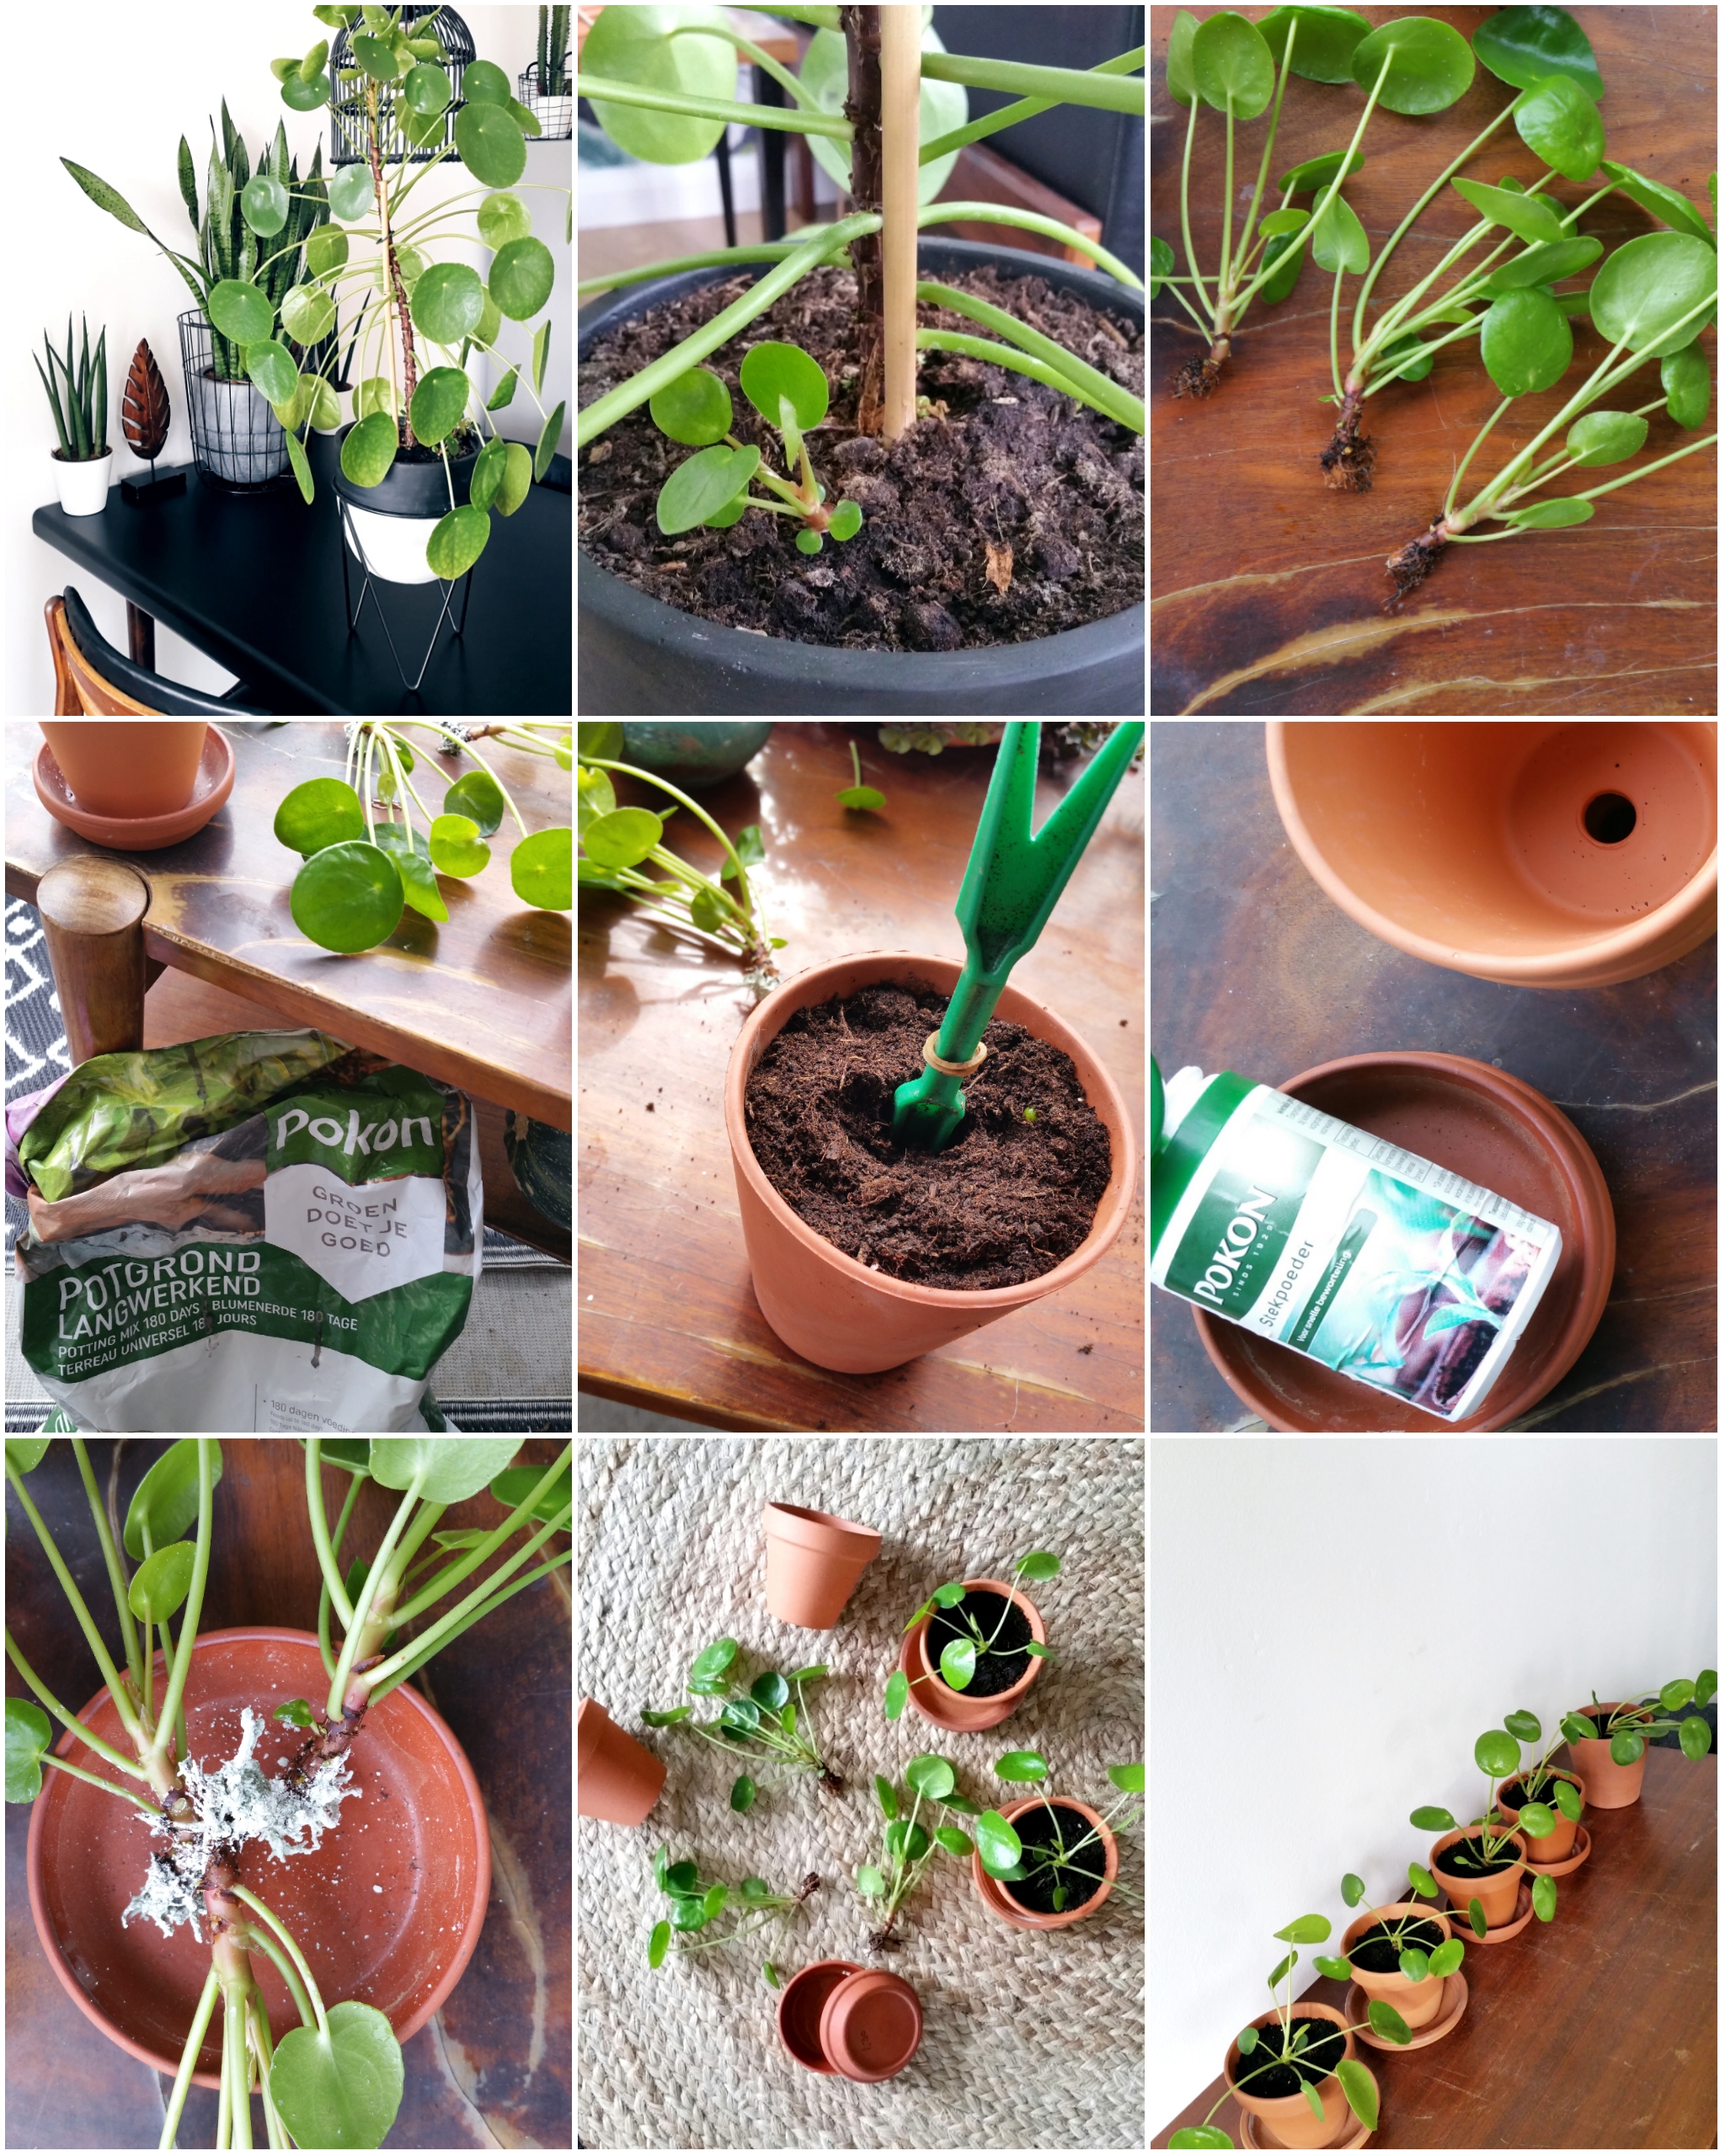
(TTB, LTR) Photo 1: The big ‘mothership’ Pilea. Photo 2: Cut away the offshoot and try to save as many root as possible. Photo 3: Wash off soil from the roots, you may loose the lower leaves doing that, but that’s okay. Photo 4: I use fertilised soil, most universal fertilised soil will do. Photo 5: Top up your planters with soil and dig a hole in the middle. Photo 6 & 7: Dip the wet roots in hormone powder to help grow roots faster. Photo 8 & 9: Stick the cuttings in soil, press down the soil around it, fill it up with a little more soil and water them. And now wait until your babies produce babies themselves 🙂
? FUN FACTS ?
PILEA PEPEROMIOIDES…
… is related to Stinging Nettle although they look nothing alike.
… is NOT related to Nasturtium eventhough they look like identical twins separated at birth 😉
… is known in Germany as ‘UFO plant’, in Sweden as ‘Elephant Ear Plant’, in Norway as ‘Lefse Plant’ (Lefse is a Norwegian flat bread) and in Denmark as ‘Umbrella Plant’.
… is rarely described in old plant care books. You can understand why if you’ve read my story on its origins 😉
… is so cool and hip by now it’s in all new plant care books!
… will amaze you with leaves as big as the palm of your hand when looked after properly.
… will grow new plants from leaf cuttings as well. Put a healthy leaf in water, wait for a really long time, and then maybe a little offshoot will grow at the bottom (so just wait for the ‘ready-made’ offshoots that will sooner or later grow out the soil!).
? MY PILEA IS YOUR PILEA ?
Have any questions about your Pilea? Maybe I can help! Post a comment below, that way others can read it and learn from it too or send me message on Instagram or via email. Did I help you in any way growing Pilea or taking care of them, let me know, I’d love to hear 🙂 And if you post pictures of your Pilea on Instagram, use my hashtag #mypileaadventure, I’d like that very much! I tagged all my Pilea photos with it as well 🙂 So use it, make me happy, because my Pilea (for some people literally) is your Pilea!
Thanks for reading my article!
Love, Mandy ?
PS I’m in no way sponsored by any brands to write this article. Brands used work well for me, but I used others too since then with similar effect 🙂
Use #mypileaadventure for all your Pilea photos 🙂